
Instagram Reels are the fastest way to grow an account in 2026, but they are also the hardest format to make well. A Reel is vertical, it is short, and the first two seconds decide whether someone watches or swipes past. Most people watch with the sound off, so captions are not optional. And Instagram hides the bottom and right edges of the video behind buttons, so text placed in the wrong spot simply disappears.
That is why the right editing tool matters so much. A good Reels tool does four things for you: it cuts video to 9:16 vertical, it adds captions automatically, it helps you find trending audio, and it exports a clean video with no watermark. A bad tool wastes your time — or worse, it stamps a watermark on your video and makes your account look unprofessional.
This guide compares the eight AI tools that are actually useful for Instagram Reels in 2026, with real free-plan limits, real prices, and honest drawbacks. We lead with the tools that are new here — Meta Edits, VEED, and Descript — and we keep CapCut, OpusClip, Clipchamp, and Canva short, because our earlier guides already cover them in full. Links to those guides are at the end of this article.
How to Choose the Right Tool for Reels
Before you compare prices, check these six things. They decide whether a tool helps your Reels or holds them back.
1. True 9:16 vertical editing. Reels are 1080 by 1920 pixels. A tool built for Reels lets you edit in vertical from the start, with safe-zone guides that show where Instagram's buttons and captions will cover your text. A tool that only crops a horizontal video afterwards will cut off heads, captions, and on-screen text.
2. Automatic captions. Most people watch Reels with the sound off, so captions are how your video gets understood. Look for auto-captions in your language, with word-by-word highlighting and styles you can change. Captions should be burned into the video, not added as a separate file.
3. The hook in the first two seconds. Instagram decides in the first two seconds whether to show your Reel to more people. The best tools help here: templates with a strong opening frame, auto-zoom on the speaker's face, and B-roll that starts the video with movement instead of a still face.
4. Export quality and watermark. A free plan that exports at 720p with a watermark is fine for testing, but it is not a publishing plan. For Reels you post every day, you want at least 1080p with no watermark. Check this before you spend hours editing in a tool — the watermark only shows up at export time.
5. Trending audio. Reels with trending audio get shown to more people. Only Instagram's own editor shows you which sounds are trending right now. Other tools give you a music library, but they cannot tell you what is trending on Instagram today.
6. Repurposing long video. If you already record podcasts, YouTube videos, or live streams, a clipping tool can turn one long video into ten Reels. That is the fastest way to post every day without filming every day — but check the free plan's credit limit, because most clipping tools only give you about an hour of source video a month for free.
In This Guide
- 1. How to Choose the Right Tool for Reels
- Best Free AI Tools for Instagram Reels at a Glance
- Meta Edits — Best Overall for Reels
- CapCut — Best All-Round Free Editor
- Clipchamp — Best Free Browser Editor
- VEED — Best for Captions and Subtitles
- Descript — Best for Talking-Head Reels
- OpusClip — Best for Turning Long Video into Reels
- Canva — Best for Covers and Quick Clips
- Submagic — Best Captions, Free Trial Only
- Free vs Paid: What the Free Plans Really Cost You
- Common Reels Mistakes to Avoid
- Frequently Asked Questions
- Final Thoughts
Best Free AI Tools for Instagram Reels at a Glance
| Tool | Free Plan | Export Quality | Watermark on Free | Best For |
|---|---|---|---|---|
| Meta Edits | Free, no paid tier for core features | Up to 4K | No | Instagram-only Reels, trending audio, Reels insights |
| CapCut | Free editor, auto-captions on web | Up to 4K | Usually no | All-round editing, templates, trending music |
| Clipchamp | Free, unlimited exports | Up to 1080p | No | Clean browser editing, no install |
| VEED | Free, 50 AI credits a month (some regions) | 720p | Yes | Captions, subtitles, screen recording |
| Descript | Free, 1 media hour a month | 720p | Yes | Talking-head Reels, edit by transcript |
| OpusClip | Free, 60 credits a month | Up to 1080p | Yes | Long video to many Reels, virality score |
| Canva | Free templates and AI clip maker | Up to 1080p | No on free exports | Reels covers, text overlays, quick clips |
| Submagic | Free trial only — 3 videos | 1080p (paid) | Yes, on trial | Animated word-by-word captions, B-roll, zooms |
Two things to notice in this table. First, only three tools give you clean exports for free: Edits, Clipchamp, and CapCut. Every other free plan stamps a watermark on your video. Second, the "free" label hides big differences: Descript's free plan gives you one hour of video a month, OpusClip's gives you about an hour of source video, and Submagic's trial ends after three videos. Read the limits before you commit to a tool.
1. Meta Edits
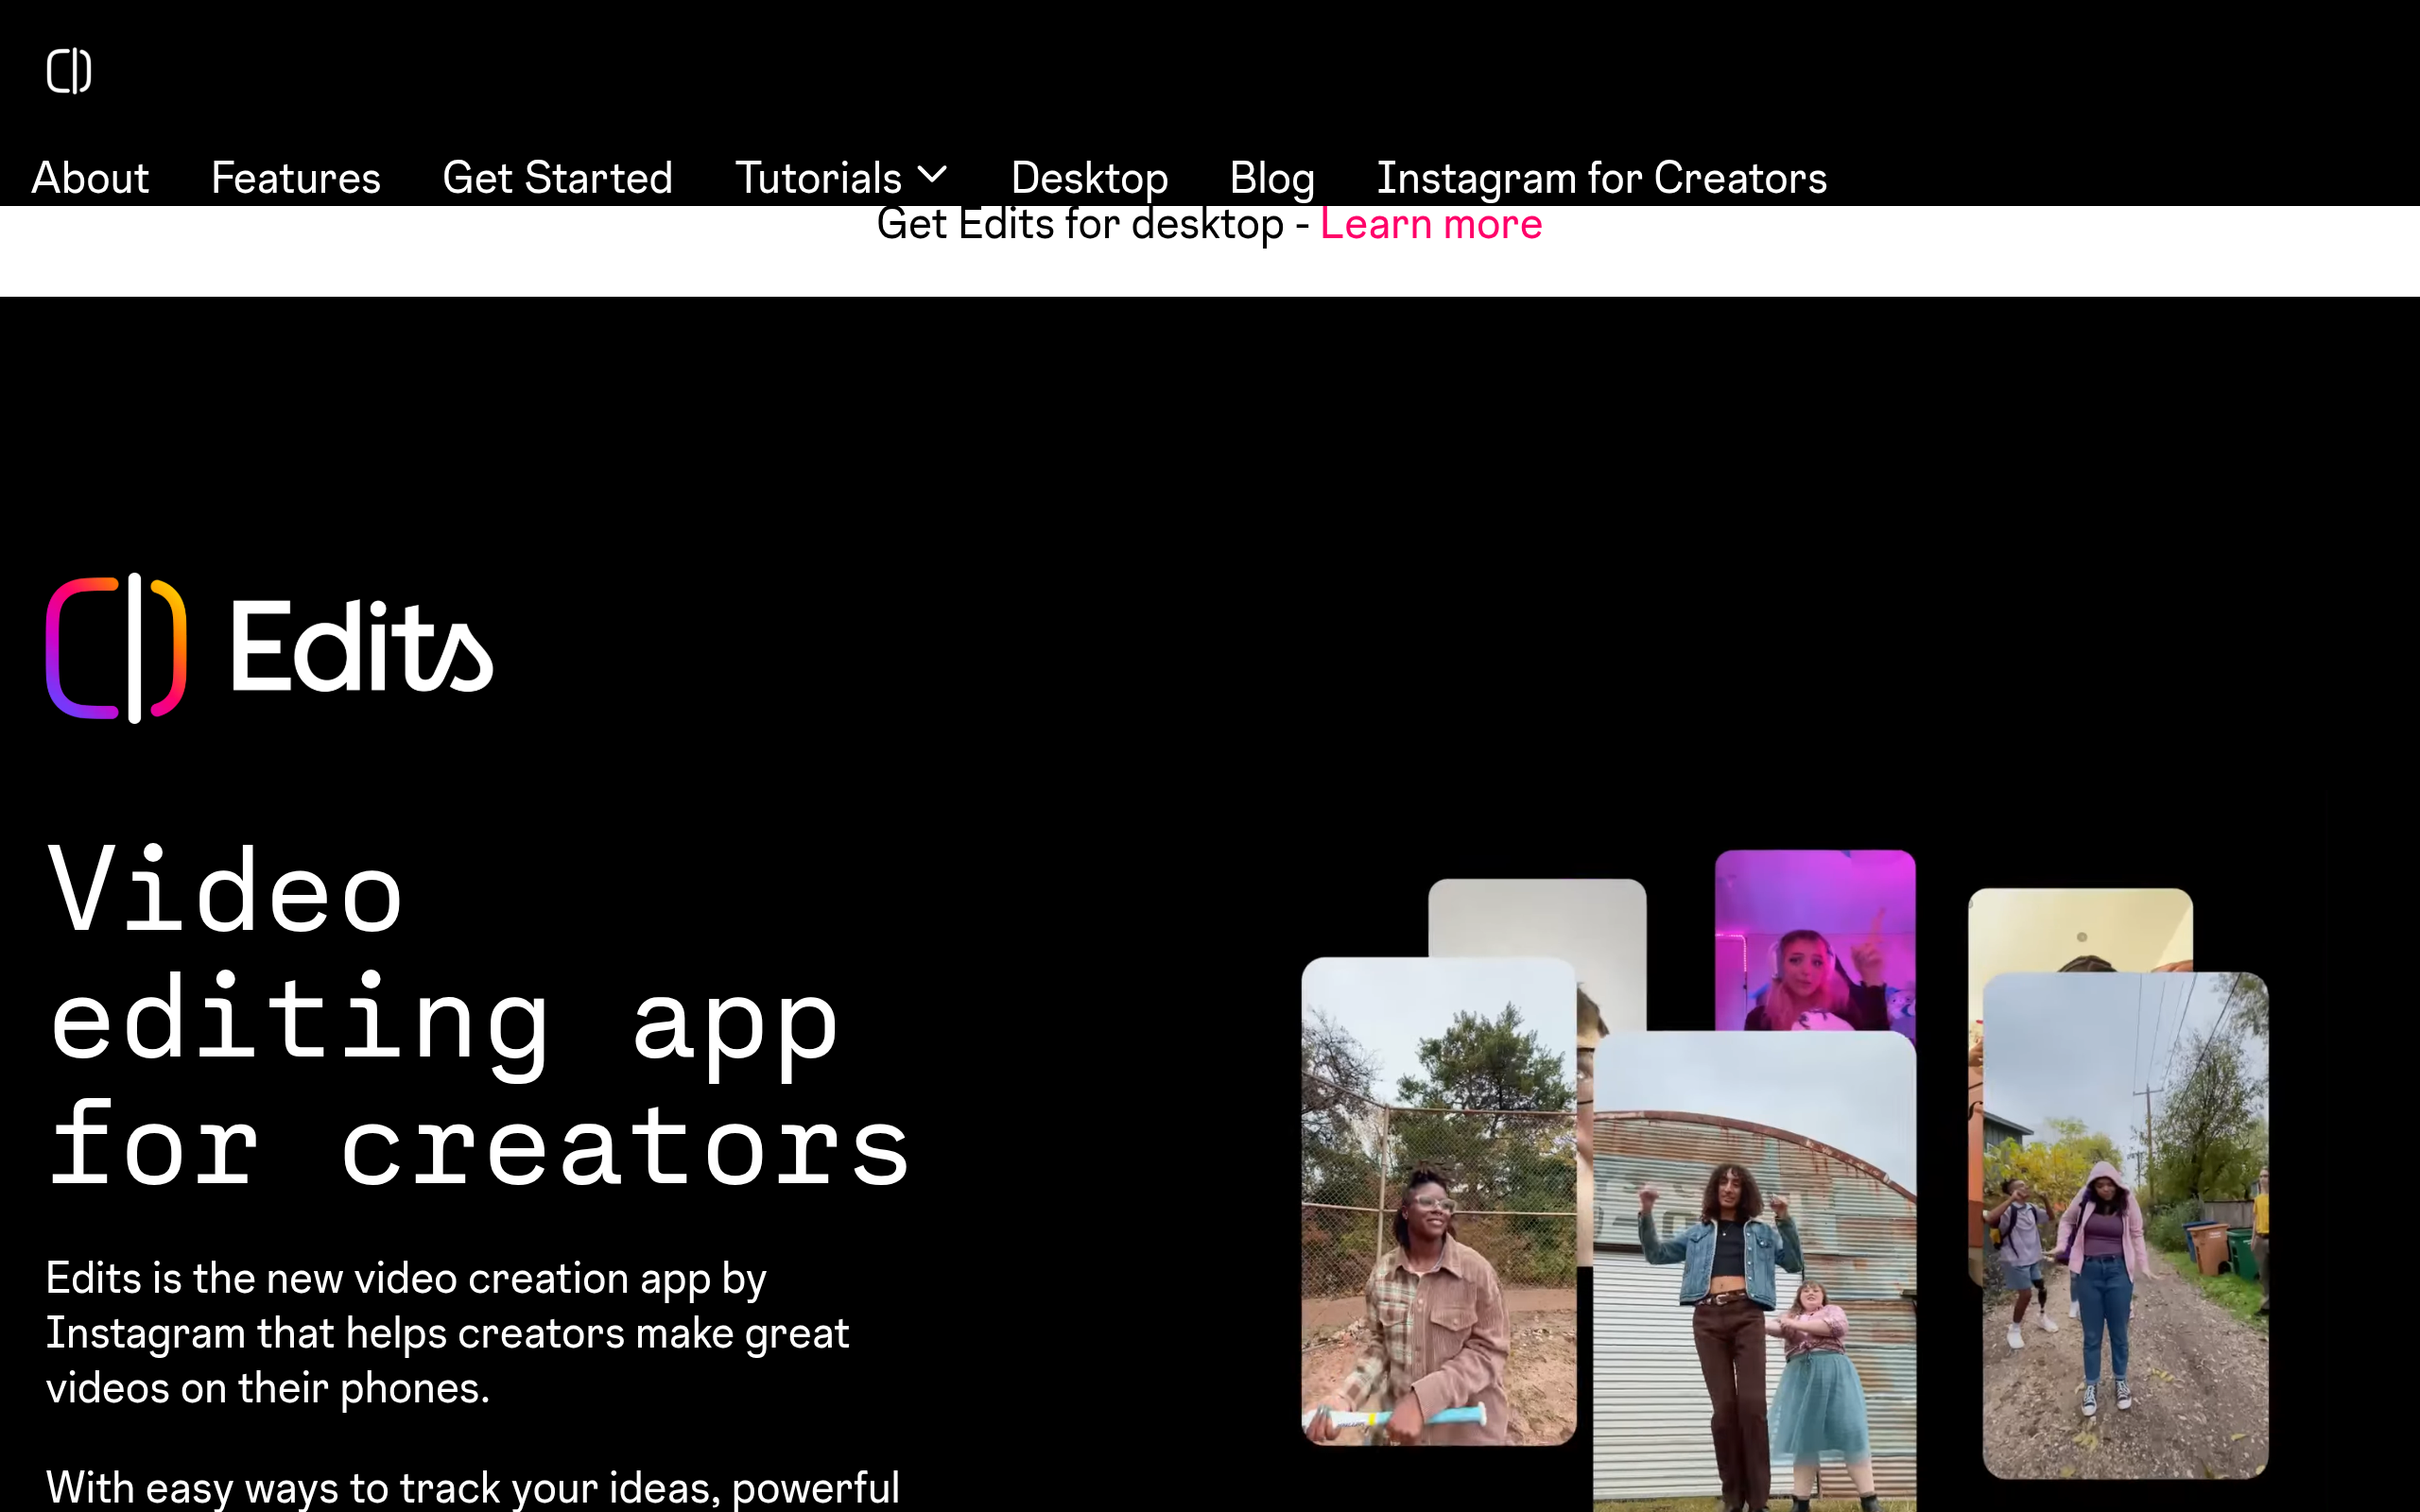
Meta Edits is Instagram's own video editor, and it is the best free tool for Reels in 2026 — because it is the only editor in this guide that was built for Instagram from the start. It launched as a phone app in April 2025, and on 5 November 2026 Instagram released it for Mac as well. It is free on iPhone, Android, and Mac with Apple silicon (M1 or later). There is no Windows version and no browser version yet.
What makes Edits different is not the editing — other tools edit just as well. It is the connection to Instagram itself. Edits has an Ideas tab that shows which audio is trending on Instagram right now, so you can pick a sound that is already working instead of guessing. It has a Reels insights dashboard that shows how your Reels perform, and it lets you publish straight to Instagram with tags, a location, and trial Reels — a trial Reel is shown to non-followers first, so you can test a video before your own followers see it.
The editor itself is strong. You can record clips up to 10 minutes long, cut them frame by frame, add automatic captions in many languages, and use a teleprompter while you film yourself talking. AI Cutout removes the background from a clip without a green screen. Safe-zone guides show you exactly where Instagram's buttons will cover your video, so your captions never disappear behind the like button. And exports go up to 4K with no watermark — the only free tool in this guide that gives you 4K without paying.
There are two catches to know. First, projects do not yet move between your phone and your Mac — a project you start on your phone cannot be opened on your Mac yet, though Instagram says cross-device editing is coming. Second, some processing with Meta AI Restyle can stamp a watermark on the result, so check your export before you post. The core editor, captions, effects, and 4K export are free. Meta has announced a paid plan called Edits Plus, with 200GB of cloud storage and more AI usage, but it is only in limited testing and Meta has not shared a price.
Anyone who posts Reels only to Instagram and films on a phone. Edits is the only editor with native trending audio and Reels insights, and the only free tool here with 4K exports and no watermark.
Free. The core editor, captions, effects, and 4K export cost nothing, with no watermark. Edits Plus (extra cloud storage and AI usage) is in limited testing with no price announced yet.
- Ideas tab with trending audio on Instagram, so you pick sounds that are already working
- Automatic captions in many languages, plus a teleprompter for talking-head videos
- AI Cutout removes backgrounds without a green screen
- Safe-zone guides show where Instagram's buttons cover your video
- Reels insights dashboard built into the editor
- Publish straight to Instagram with tags, location, and trial Reels
- Multi-track timeline, keyframes, colour wheels, and LUT imports on Mac
- Download Edits from the App Store or Google Play, or from edits.instagram.com on a Mac with Apple silicon, and sign in with your Instagram account.
- Open the Ideas tab and pick a trending sound, or save a sound from a Reel you like.
- Record your clips inside Edits, or import video from your camera roll.
- Tap Captions to add automatic captions, then pick a caption style that is easy to read on a phone.
- Check the safe-zone guides and move any text away from the bottom and right edges.
- Export in 4K and publish straight to Instagram, or save the video to post later.
If you only make Reels for Instagram, start here. No other free tool gives you 4K exports, trending audio, and Reels insights in one place — and it costs nothing.
2. CapCut
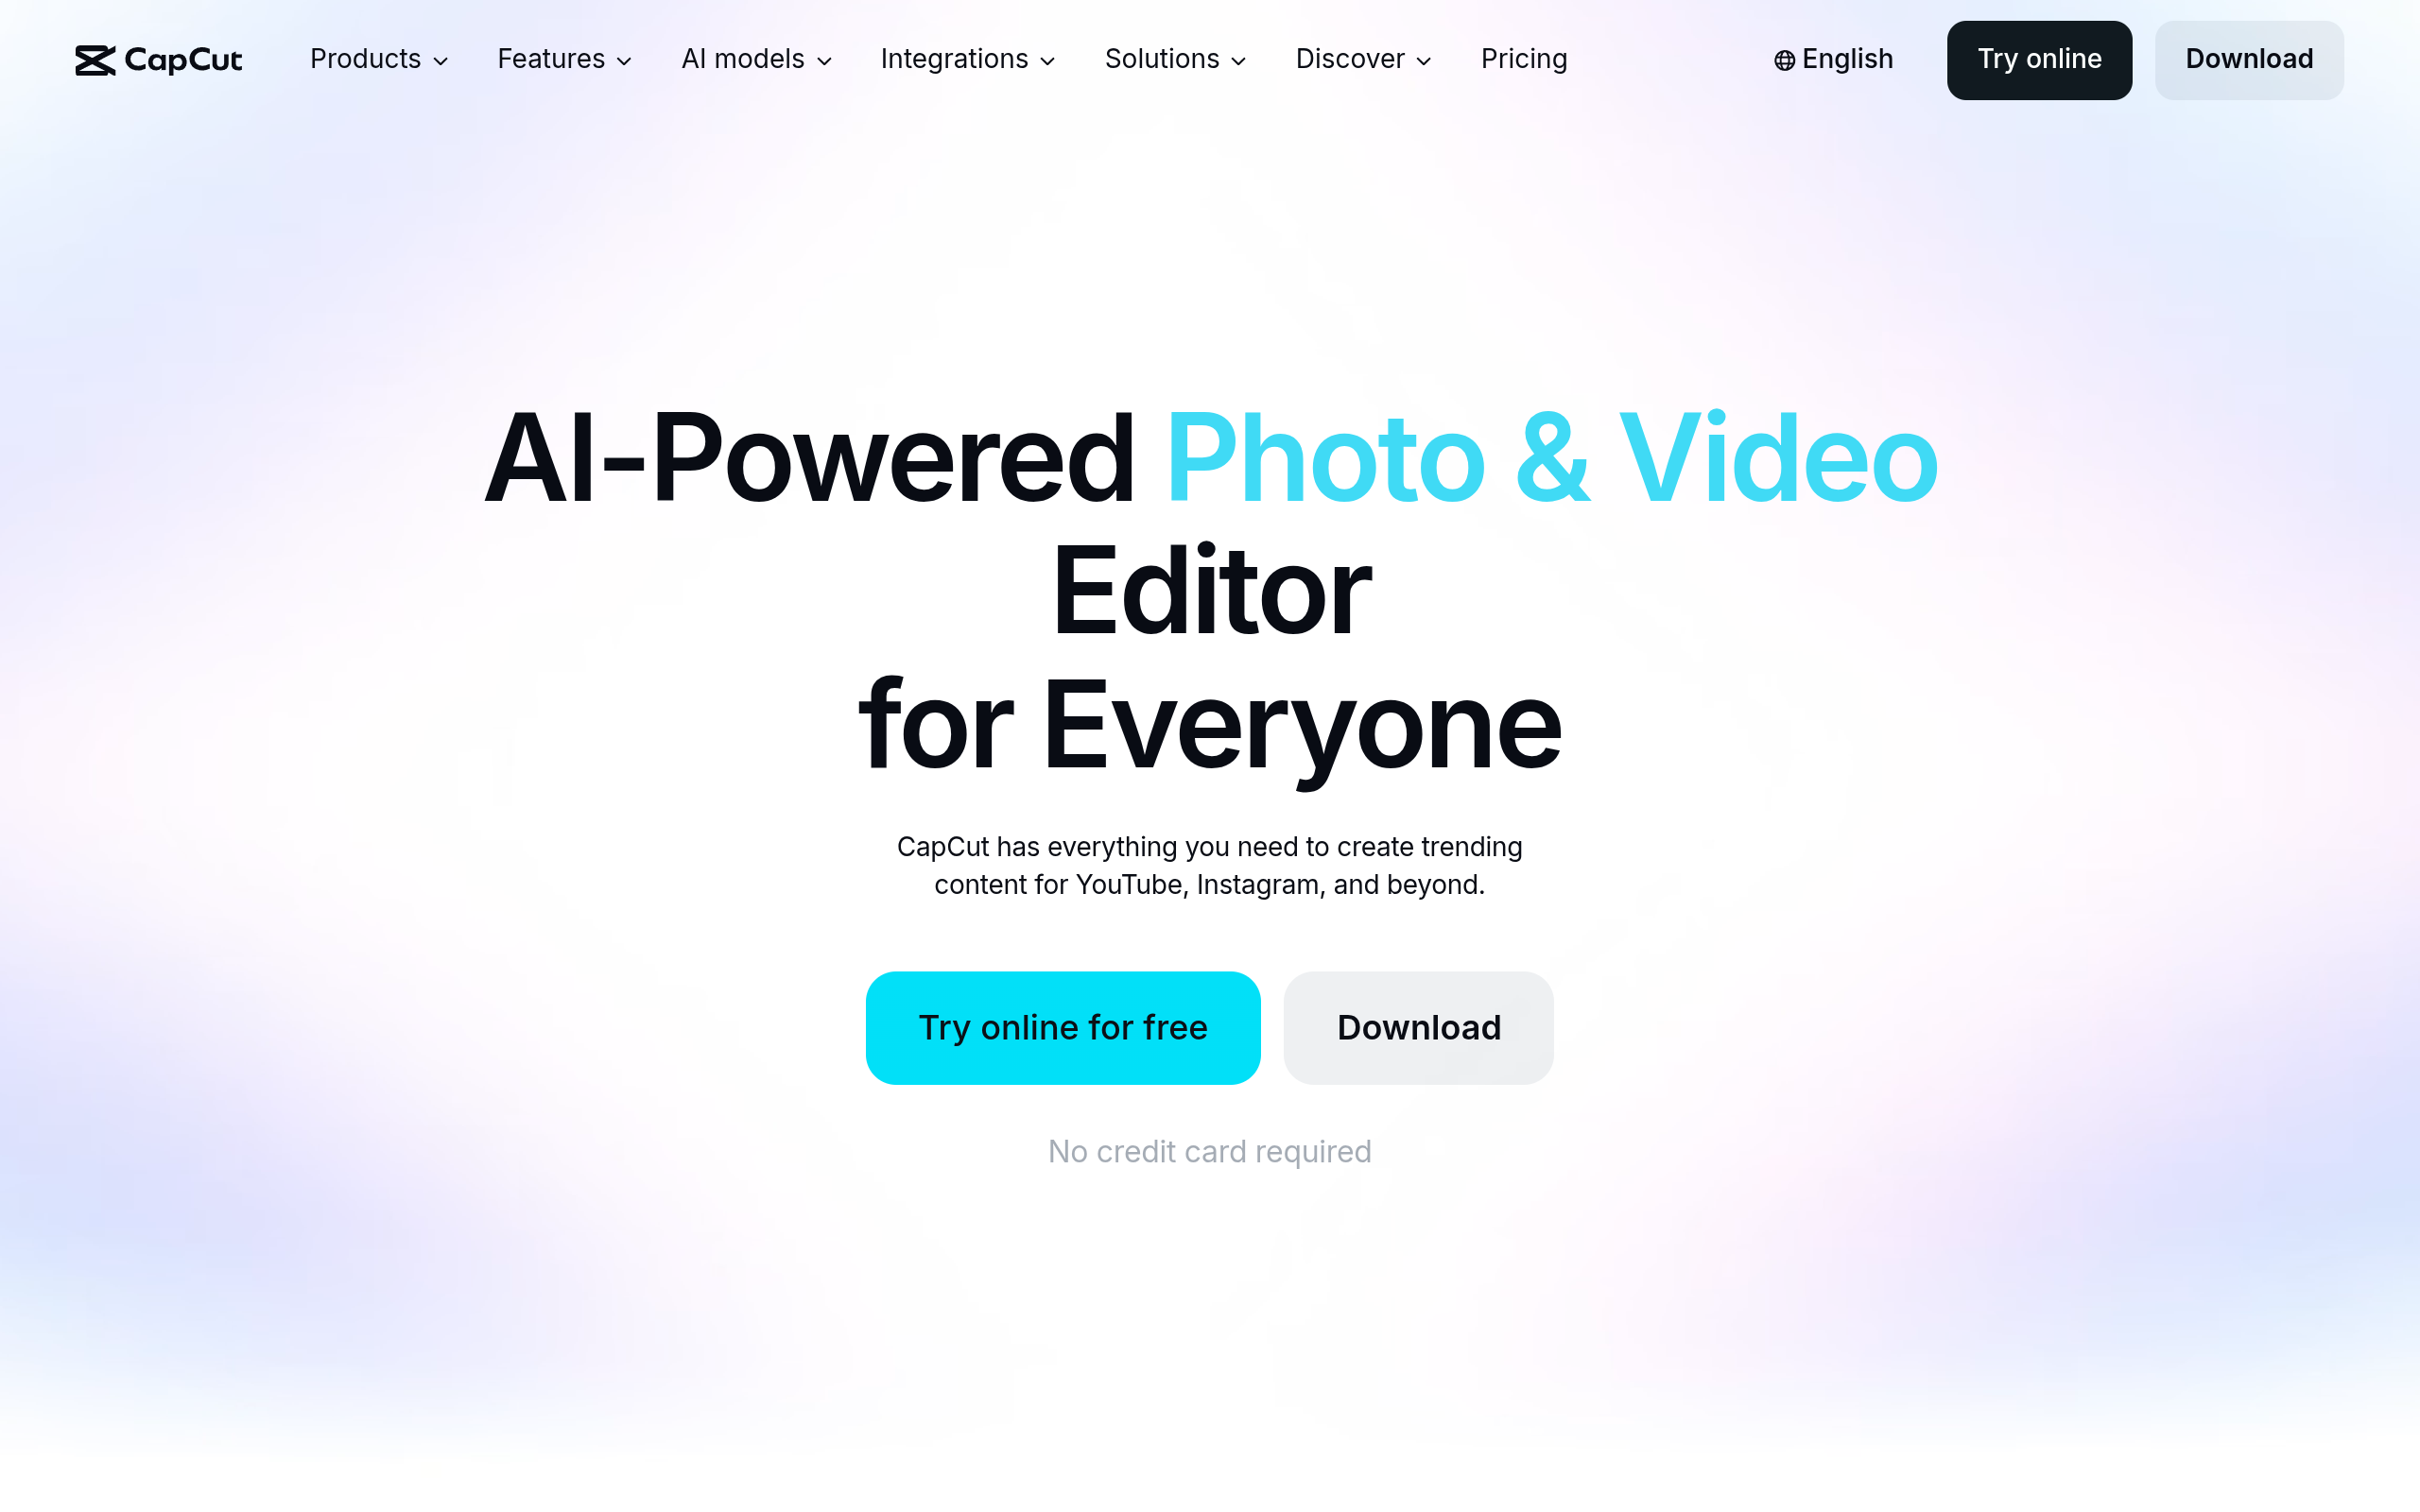
CapCut is the best all-round free editor for Reels, and the one most creators already know. It works on your phone, on your computer, and in the browser, so you can start a Reel on your phone and finish it on a bigger screen. The free editor includes templates, trending music, effects, and automatic captions on the web version — and free exports usually carry no watermark, which is rare for a free editor this powerful.
For Reels, CapCut's strength is speed. Its template library lets you drop your clips into a ready-made Reel in minutes, and the templates follow the formats that are already working on Instagram and TikTok. Auto-captions are free on the web editor, and the caption styles are the bold, word-by-word style that performs well on Reels. There is also a large music library with trending sounds, so you do not have to hunt for audio elsewhere.
CapCut is the best pick in this guide if you post the same video to Instagram, TikTok, and YouTube Shorts, because one edit works everywhere. Edits wins if you only post to Instagram. We covered CapCut in full in our guides to the best free AI video editing tools and the best free AI tools for social media, so this section stays short — those guides have the full feature list and the paid-plan prices.
Creators who post the same video to Instagram, TikTok, and YouTube Shorts, and anyone who wants templates and trending music in one free editor.
Free editor on phone, desktop, and web, with free auto-captions on the web version and usually no watermark on free exports. Paid Pro plans add premium templates, effects, and cloud storage.
- Templates for Reels, TikTok, and Shorts that follow formats already working on social media
- Free automatic captions on the web editor, with bold word-by-word styles
- Trending music library and sound effects built in
- Works on phone, desktop, and browser — start on one device, finish on another
- AI tools for background removal, upscaling, and auto-cutting
- Open CapCut on the web or download the app.
- Pick a Reel template, or start a blank 9:16 project and import your clips.
- Add auto-captions, pick a bold caption style, and keep the text inside the safe zone.
- Add trending music from the library and trim your clips to the beat.
- Export and post to Instagram Reels, TikTok, or YouTube Shorts.
CapCut is the safe all-round choice. If you are not sure which tool to pick, pick this one — it does everything well, and the free plan is genuinely usable.
3. Clipchamp
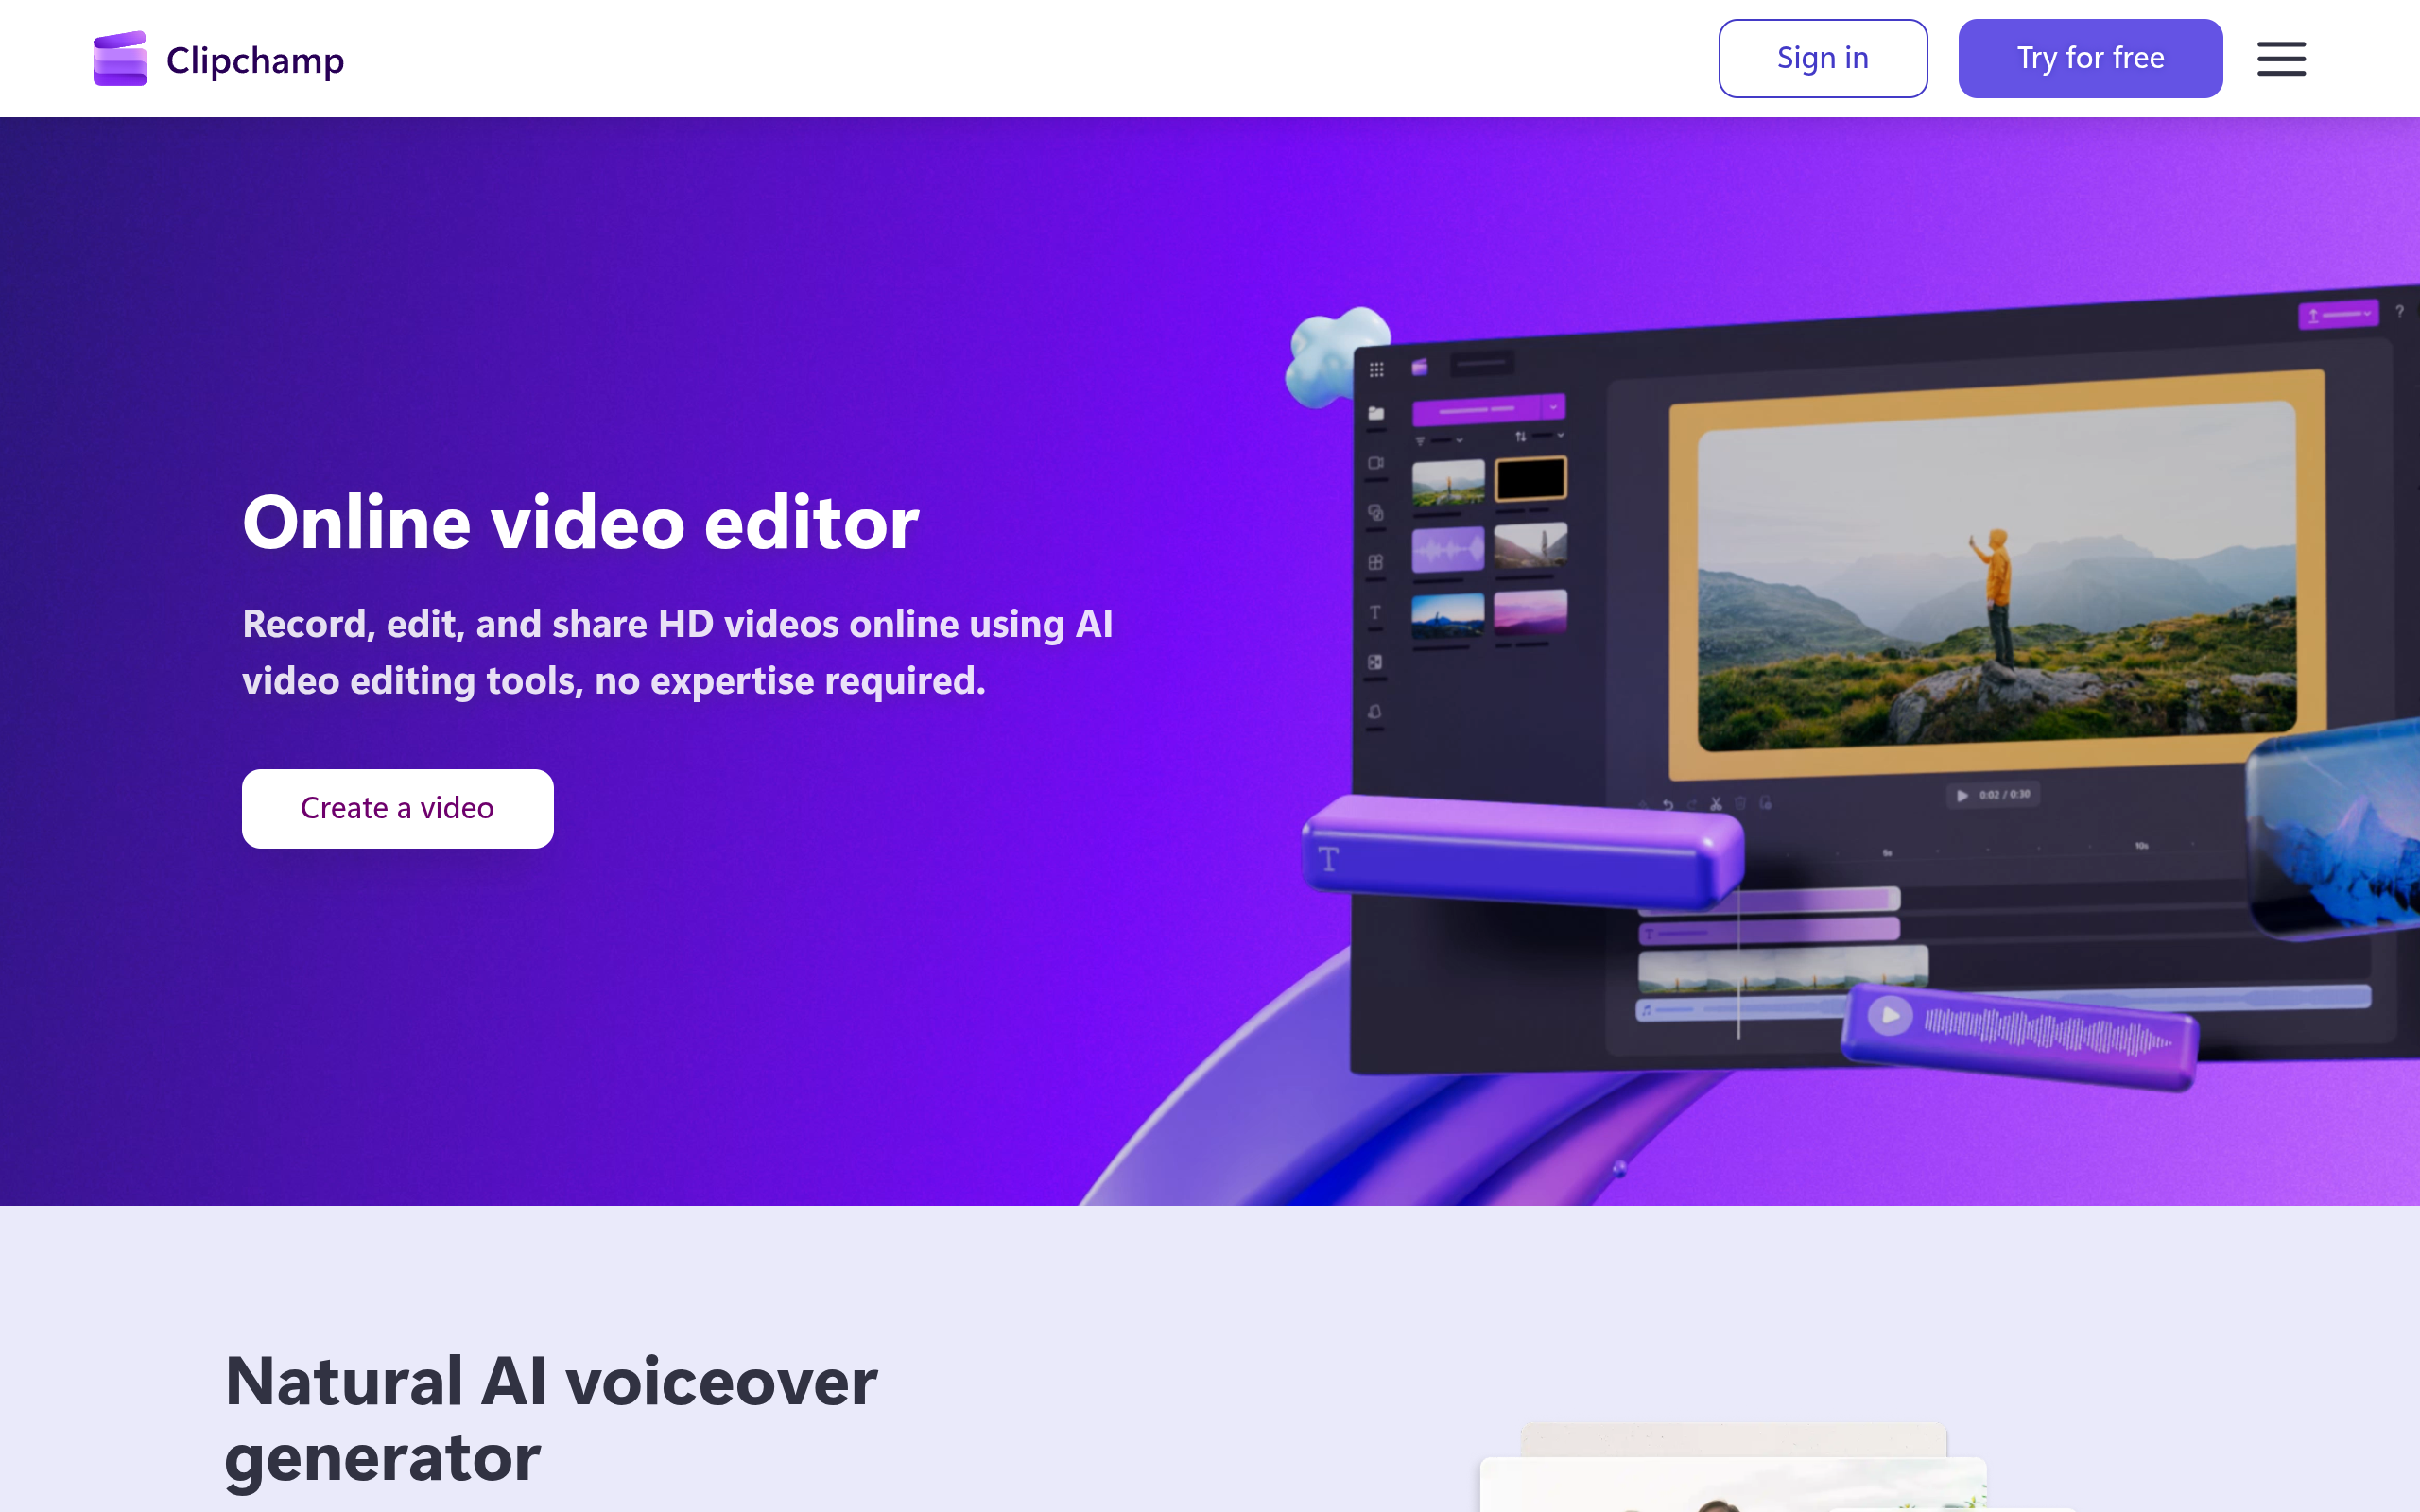
Clipchamp is Microsoft's browser video editor, and it is the best free browser editor for Reels. It runs in Chrome or Edge with nothing to install, and the free plan gives you unlimited exports at 1080p with no watermark. That combination — free, unlimited, no watermark — is the reason it earns a place in this guide.
For Reels, Clipchamp's free plan covers the basics well: trim and split clips, add text and titles, use the auto-caption tool, and pick from a library of stock video and audio. The auto-composer can turn a set of clips into a finished video in a few clicks, which is useful when you need a Reel fast. Because it runs in the browser, it works on Windows, Mac, and Chromebook alike, and your projects are saved in your Microsoft account.
The limit is the export: 1080p is the ceiling on the free plan, and the best templates and stock media sit behind the paid plan, which comes with Microsoft 365. For Reels, 1080p is exactly what Instagram shows, so the limit rarely matters in practice. We covered Clipchamp in our best free AI video editing tools guide, so this section stays short.
Anyone who edits on a computer and wants clean 1080p exports with no watermark, without installing anything.
Free, with unlimited 1080p exports and no watermark. Premium features and stock media come with Microsoft 365.
- Unlimited free exports at 1080p with no watermark
- Runs in the browser — nothing to install, works on Windows, Mac, and Chromebook
- Auto-captions and text-to-speech in many languages
- Auto-composer turns clips into a finished video in a few clicks
- Stock video, audio, and templates built in
- Open Clipchamp in your browser and sign in with a Microsoft account.
- Start a blank 9:16 video and import your clips.
- Trim the clips, add auto-captions, and place text inside the safe zone.
- Export at 1080p and post to Instagram Reels.
Clipchamp is the simplest honest free plan in this guide: no watermark, no export limit, no catch. If you edit on a computer, it is hard to beat.
4. VEED
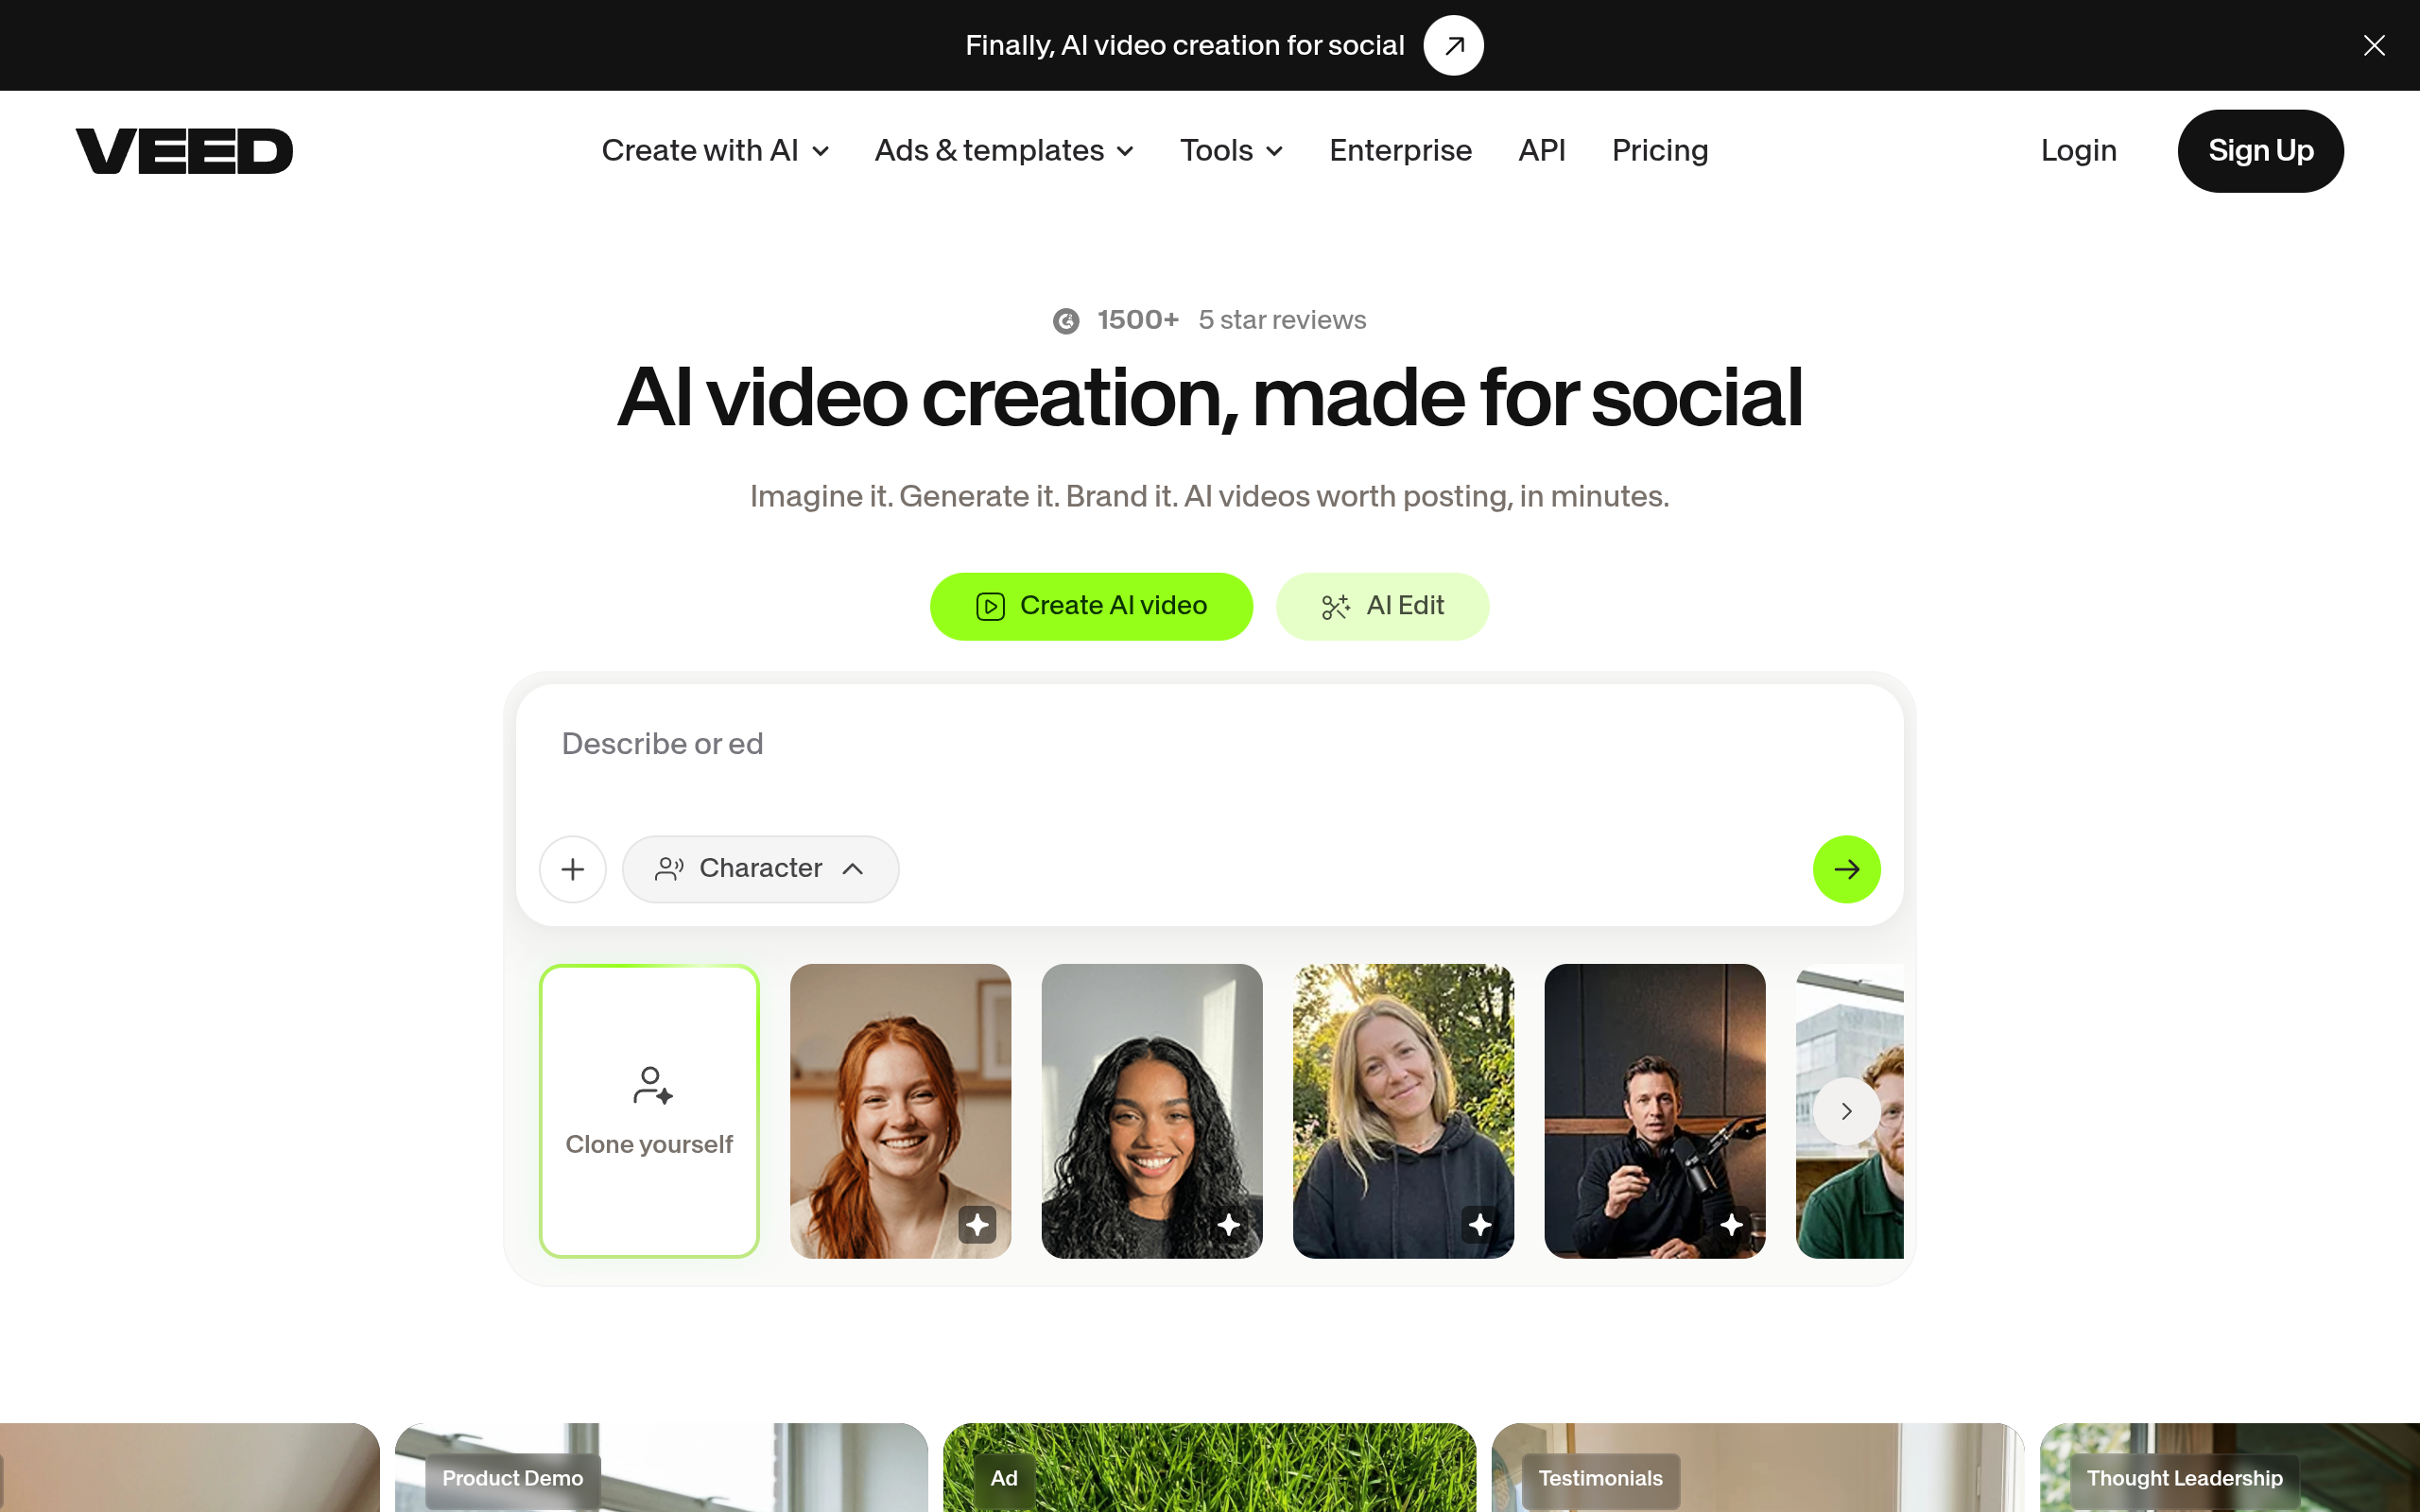
VEED is a browser video editor built around captions and subtitles, and it is the best tool in this guide for turning a talking video into a captioned Reel. The editor runs entirely in your browser, and its auto-subtitles are the feature people sign up for: VEED generates subtitles in more than 125 languages, lets you style them like the bold captions you see on viral Reels, and translates them into other languages.
The free plan is where you need to read the limits carefully. Exports are capped at 720p and 10 minutes per video, every export carries a VEED watermark, and you get 10 minutes of auto-subtitles a month plus 50 AI credits a month in some regions. The AI credits pay for tools like Clean Audio, Eye Contact, and AI-generated clips. One-time tries of those tools are included, so you can test them before paying. The Creator plan, from $12.25 a month billed yearly ($25 billed monthly), removes the watermark and raises exports to 1080p.
Two honest warnings about the free plan. First, the watermark is burned into the video file itself, so you cannot remove it later — if you upgrade, you must re-export from the original project. Second, VEED's privacy policy says content uploaded on the free web plan is used to improve its products, including training AI models; mobile uploads are excluded, and the only way to opt out is to upgrade or delete the account. If that bothers you, use a different tool for your drafts.
VEED also has screen recording built in, which is useful if your Reels show a phone screen, a website, or a tutorial. And since August 2026 every account opens on the VEED AI dashboard, where a prompt becomes a script and then an editable video — handy if you want AI to draft a Reel for you.
Creators who need strong captions and subtitles, and anyone making tutorial or screen-recording Reels in the browser.
Free, with 720p exports, a watermark, exports up to 10 minutes, 10 minutes of auto-subtitles a month, and 50 AI credits a month in some regions. Creator costs $12.25 a month billed yearly ($25 billed monthly) and removes the watermark at 1080p.
- Automatic subtitles in 125+ languages, with bold styles and translation
- Screen recording built into the browser editor
- AI tools: Clean Audio, Eye Contact, background removal, and AI-generated clips
- AI dashboard turns a prompt into a script and then a video
- Brand kit, templates, and stock media on paid plans
- Open VEED in your browser and create a free account.
- Upload your video and pick the 9:16 vertical format.
- Click Subtitles, then Auto Subtitles, and pick your language.
- Style the captions — big bold text, high contrast — and keep them in the safe zone.
- Export at 720p. Remember the free export carries a VEED watermark, so test first, then decide if you need the paid plan.
VEED is the best caption tool in this guide, but its free plan is a test drive, not a publishing plan. Use it to learn the workflow, and pay for Creator when you start posting every day.
5. Descript
Descript is the best tool in this guide for talking-head Reels, because it works in a completely different way: you edit the video by editing the transcript. Descript transcribes your video, and when you delete a word from the text, the video cuts that word out. Remove a rambling sentence, a filler word, or a long pause, and the video tightens up at once. For anyone who talks to the camera, this is the fastest way to edit.
That transcript workflow is what makes Descript special for Reels. A talking-head Reel lives or dies on pace — the first two seconds need a hook, and every dead second after that costs you viewers. With Descript you can see the whole script, cut the weak lines, and add dynamic captions that highlight each word as you speak. Its AI tools — Studio Sound for clean audio, Remove Filler Words, Eye Contact, and Green Screen — are built for exactly this kind of video.
The free plan is tight, and you should know the limits before you start. You get 1 media hour a month — that is one hour of video you can upload and transcribe — plus 100 AI credits that arrive once and never refill, 720p exports with a watermark, 5 GB of storage, and 1 GB per upload. No credit card is needed. One hour a month is enough for about four short Reels, but it is not enough to edit every day. The Hobbyist plan costs $16 a month billed yearly ($24 billed monthly) and gives you 10 media hours, 400 AI credits a month, and 1080p exports with no watermark.
Descript also records remote interviews, which is useful if your Reels feature guests or clients on a video call. And because everything is text-based, you can turn one recording into a Reel, a caption file, and a blog post from the same transcript.
Talking-head Reels — coaches, teachers, founders, and anyone who talks to the camera and wants the fastest possible edit.
Free, with 1 media hour a month, 100 one-time AI credits, 720p exports with a watermark, and no card needed. Hobbyist costs $16 a month billed yearly ($24 billed monthly) for 10 hours, 400 AI credits a month, and 1080p exports with no watermark.
- Edit video by editing the transcript — delete a word, cut the video
- Dynamic captions that highlight each word as you speak
- Studio Sound cleans up noisy audio; Remove Filler Words cuts ums and pauses
- Eye Contact and Green Screen for polished talking-head videos
- Remote recording for interviews and guest Reels
- Open Descript and create a free account.
- Record in Descript or upload a video, and wait for the transcript.
- Delete weak lines and filler words from the transcript to tighten the video.
- Turn on captions and pick a dynamic word-by-word style.
- Export at 720p in 9:16. Plan your month around the 1-hour limit — save your best takes for Descript.
Descript is the fastest editor in this guide for anyone who talks to camera. The free plan is small, but one hour a month is enough to learn whether the transcript workflow fits you — and if it does, Hobbyist is worth the $16.
6. OpusClip
OpusClip is the best tool in this guide for turning a long video into many Reels. You upload a podcast, a YouTube video, a live stream, or a webinar, and OpusClip's AI finds the moments worth posting, cuts them into vertical clips, adds captions, and gives each clip a Virality Score — a prediction of how well it might perform. One hour of video can become ten or more Reels.
That is the fastest way to post Reels every day without filming every day. If you already record long videos, OpusClip turns work you have already done into a week of content. The clips come out in 9:16 with auto-reframe that keeps the speaker in frame, AI captions with emoji and keyword highlights, and a choice of caption styles.
The free plan has three limits that matter. First, you get 60 credits a month, and one credit is one minute of source video — so 60 credits cover about one hour of long video a month. Second, free clips carry a watermark and you cannot edit them in the free plan. Third, and most important, free clips stop being exportable after 3 days — if you miss the window, you have to process the video again and spend credits a second time. The Starter plan costs $15 a month (monthly billing only) and gives you 150 credits, the editor, and no watermark. The Pro plan costs $29 a month, or $14.50 a month billed yearly, with 300 credits a month.
We covered OpusClip in our best free AI tools for social media guide, so this section stays short. The key point stands: OpusClip is a clipping machine, not an editor. Use it to find the moments, then polish the best clips in Edits or CapCut.
Podcasters, YouTubers, and streamers who want to turn one long recording into many Reels without filming every day.
Free, with 60 credits a month (about 60 minutes of source video), clips up to 1080p, a watermark, no editing, and clips that stop being exportable after 3 days. Starter costs $15 a month and removes the watermark.
- AI finds the best moments in a long video and cuts them into vertical clips
- Virality Score predicts how each clip might perform
- Auto-reframe keeps the speaker in frame in 9:16
- AI captions with emoji and keyword highlights
- Auto-posting to YouTube Shorts, TikTok, and Instagram Reels on paid plans
- Open OpusClip and create a free account.
- Upload a long video or paste a YouTube link.
- Let the AI find the best moments, then check the Virality Scores.
- Download your best clips within 3 days — after that they stop being exportable.
- Polish the winners in Edits or CapCut before you post them.
OpusClip is the best repurposing tool here, but treat the free plan as a test: 60 credits, a watermark, and a 3-day export window. If the clips perform, Starter at $15 a month pays for itself.
7. Canva
Canva is the best tool in this guide for Reels covers, text overlays, and quick clips from templates. It is not a full video editor like CapCut or Edits — it is a design tool that happens to make video well. If your Reel needs a strong cover image, a title card, or animated text, Canva does it faster than any editor here.
The free plan includes thousands of templates for posts, stories, and Reels, plus a free AI clip maker on desktop that turns a longer video into short clips. You can design a Reel cover in minutes: pick a 9:16 template, add your photo, write the title in a big bold font, and export it as the first frame of your Reel. A good cover is what makes people tap your Reel on your profile grid, where every video shows as a small square.
Canva's free video editing is basic compared with CapCut — you can trim clips, add text animations, and use transitions, but you cannot do frame-by-frame cutting or advanced colour work. That is fine, because Canva's job in your workflow is design, not editing. Make the cover and the text overlays in Canva, then edit the video itself in Edits or CapCut.
We covered Canva in our best free AI tools for social media guide, so this section stays short.
Designing Reels covers, title cards, and text overlays, and making quick clips from templates without opening a full editor.
Free, with templates for posts, stories, and Reels, a free AI clip maker on desktop, and free stock media. The paid Pro plan adds premium templates, the brand kit, and more storage.
- Thousands of free templates for Reels, stories, and posts in 9:16
- Free AI clip maker on desktop turns long video into short clips
- Text animations and title cards that make covers stand out
- Free stock photos, videos, and graphics built in
- Brand kit and premium templates on the paid Pro plan
- Open Canva and search for "Instagram Reel" templates.
- Pick a 9:16 template and add your photo and title in a big bold font.
- Export the cover, then use it as the first frame of your Reel in Edits or CapCut.
- For a quick clip, upload a video and use the AI clip maker to cut it into Reels.
Canva is the design half of your Reels workflow. Use it for covers and text, and use Edits or CapCut for the video itself.
8. Submagic
Submagic is the best caption tool in this guide — and the one you need to understand before you pay. It makes the animated, word-by-word captions you see on the biggest Reels accounts: each word lights up as it is spoken, with B-roll, zooms, and sound effects added automatically. If you have ever watched a Reel and thought "these captions look expensive", they were probably made in Submagic.
Here is the honest part, and it matters: Submagic is trial only, not free. Many "best free tools" lists call it free, and that is wrong. Submagic offers a free trial that lets you upload and edit 3 short videos, with no credit card — but the trial downloads carry a watermark, and clean downloads need a paid plan. The Starter plan costs $19 a month, or $12 a month billed yearly, and covers 15 videos a month of up to 2 minutes each, exported in 1080p. Pro costs $39 a month, or $23 billed yearly, and adds AI eye contact, auto zoom, and silence removal. There is no free tier you can keep using month after month.
So why include it in a guide about free tools? Because the trial is genuinely useful: three videos is enough to test whether Submagic's caption style fits your account, and the captions it makes are visibly better than the free captions in most editors. If your Reels earn money, or if captions are the main reason people watch you, Submagic is worth the test. But do not build your daily posting workflow on it unless you plan to pay — the trial ends after three videos.
Creators who want the best-looking captions on Instagram and are willing to test a paid tool — or pay for it once their Reels earn money.
Free trial only — 3 short videos, watermarked downloads, no card needed. Clean downloads need a paid plan. Starter costs $19 a month, or $12 a month billed yearly, for 15 videos a month up to 2 minutes each.
- Animated word-by-word captions with emojis and keyword highlights
- Magic B-rolls add stock footage automatically where your video needs it
- Auto zooms and sound effects keep the video moving
- Text-based trimming, AI descriptions, and caption templates
- 1080p exports on Starter, up to 2K on Pro and 4K on Business
- Open Submagic and start the free trial — no card needed.
- Upload a short video and let Submagic add animated captions.
- Pick a caption template, add B-roll and zooms, and preview the result.
- Download the trial video to check the quality, and decide if the caption style is worth the Starter plan.
The trial downloads carry a watermark, and clean downloads need a paid plan. Do not plan a month of Reels around the trial — it ends after 3 videos.
Submagic makes the best captions in this guide, but it is a paid tool with a trial, not a free tool. Test it with the trial, and pay only if the captions earn you more views.
Free vs Paid: What the Free Plans Really Cost You
The word "free" hides three different things in this guide, and knowing the difference saves you from a nasty surprise at export time.
Truly free, clean exports. Edits, Clipchamp, and CapCut give you real publishing tools for free. Edits exports up to 4K with no watermark, Clipchamp gives unlimited 1080p exports with no watermark, and CapCut's free editor usually exports with no watermark. If you never want to pay, build your workflow on these three.
Free, but watermarked. VEED, Descript, and OpusClip all watermark free exports, and the watermark is burned into the file — you cannot crop it out or cover it up. VEED exports at 720p, Descript at 720p, and OpusClip at up to 1080p. A watermark tells your viewers you are using a free plan, and on a business account it looks unprofessional. Use these free plans to test the workflow, then pay when you start posting every day.
Free trial, not a free plan. Submagic gives you three videos and then stops. It is a test, not a tool you can keep. Treat any tool that ends after a few videos as a trial, whatever the list that recommended it says.
The hidden costs. Free plans also cost you in limits you only notice later: Descript gives you one hour of video a month, OpusClip's free clips stop being exportable after 3 days, and VEED's free uploads are used to improve its products. None of these are deal-breakers, but they are the reason the paid plans exist. The honest rule is simple: if a tool makes you money, pay for it. A $12 to $19 monthly plan is cheap compared with the hours a good tool saves you.
Common Reels Mistakes to Avoid
1. Text outside the safe zone. Instagram covers the bottom of your Reel with the caption and buttons, and the right edge with the like, comment, and share buttons. Any text you place there is hidden. Keep captions and titles in the middle of the frame, and use the safe-zone guides in Edits to check.
2. No captions. Most people watch Reels with the sound off. A Reel without captions loses most of its audience in the first seconds. Add captions to every Reel, even if you talk to the camera — use Edits, CapCut, or Descript to generate them automatically.
3. A slow start. The first two seconds decide everything. Start with the most interesting moment, a bold claim, or a question — not with "Hey guys, welcome back to my channel". Cut the introduction completely.
4. Posting a watermarked video. A watermark from another app tells Instagram — and your viewers — that the video was not made for Reels. Instagram also shows watermarked videos to fewer people. Export clean from Edits, Clipchamp, or CapCut, or pay to remove the watermark before you post.
5. Wrong size. Reels are 1080 by 1920 pixels, 9:16 vertical. A horizontal video with black bars looks lazy and gets skipped. Edit in 9:16 from the start, and never upload a landscape video to Reels.
6. Using one tool for everything. The best workflow uses two tools: one for captions and cutting, one for design. Edit in Edits or CapCut, make the cover in Canva, and clip long videos in OpusClip. No single tool does all of it best.
Frequently Asked Questions
1. Which free AI tool is best for Instagram Reels in 2026?
Meta Edits is the best free tool for Reels. It is Instagram's own editor, it is completely free, it exports up to 4K with no watermark, and it is the only editor with trending audio and Reels insights built in. CapCut is the best all-round free editor if you also post to TikTok and YouTube Shorts.
2. Is there a completely free Reels editor with no watermark?
Yes — three in this guide. Meta Edits exports up to 4K with no watermark, Clipchamp gives unlimited 1080p exports with no watermark, and CapCut's free editor usually exports with no watermark. VEED, Descript, and OpusClip all watermark their free exports.
3. Does Submagic have a free plan?
No. Submagic has a free trial only — 3 short videos with a watermark, no card needed. Clean downloads need a paid plan, starting with Starter at $19 a month, or $12 a month billed yearly. Many lists call Submagic free, but that is not correct.
4. What size should an Instagram Reel be?
1080 by 1920 pixels, in 9:16 vertical format. That is the full screen of a phone held upright. Edit in 9:16 from the start, and keep text away from the bottom and right edges, where Instagram's buttons cover it.
5. Why do my captions disappear on Reels?
Because Instagram covers the bottom of the video with the caption and action buttons. Any text near the bottom or right edge is hidden behind the interface. Keep captions in the middle of the frame, and use the safe-zone guides in Meta Edits to check before you export.
6. Can I schedule Reels for free?
Yes. The Instagram app lets you schedule Reels for free, and Meta Business Suite gives you a calendar and scheduling for Facebook and Instagram together. Our guide to the best free AI tools for social media covers scheduling tools like Buffer, Publer, and Metricool in full.
7. How long should a Reel be?
Most Reels that perform well are 15 to 90 seconds long, with the hook in the first 2 seconds. Instagram allows Reels up to 3 minutes, but short and tight beats long and slow. If your video needs more than 90 seconds, it is probably two Reels, not one.
8. Can I use these tools for TikTok and YouTube Shorts too?
Mostly yes. CapCut, Clipchamp, VEED, Descript, OpusClip, Canva, and Submagic all export 9:16 vertical video that works on TikTok and YouTube Shorts as well. Only Meta Edits is Instagram-only — it publishes straight to Instagram and has no direct posting to other platforms.
Related Guides


Final Thoughts
After comparing all eight tools, our pick is clear: start with Meta Edits. It is free, it exports up to 4K with no watermark, and it is the only editor that shows you trending audio and Reels insights. If you only post to Instagram, you may never need another editor.
If you post everywhere, use CapCut — one edit works on Instagram, TikTok, and YouTube Shorts. If you edit on a computer and want clean exports without paying, use Clipchamp. If you talk to the camera, Descript will save you hours, and if you already record long videos, OpusClip will turn them into a week of Reels.
Whatever you pick, remember the two rules from this guide: check the watermark and the export limit before you spend hours editing, and keep your captions inside the safe zone. Then post every day — the tool matters less than the habit. Pick one tool from this guide today, make your first Reel with it, and post it.
All prices and free-plan limits in this guide were checked on the official pricing pages on 14 November 2026. Prices change often, so always check the final price at checkout before you pay.